DR250 CONSTRUCTION PHOTOS
BEFORE BACK OF HORN AND SIDES
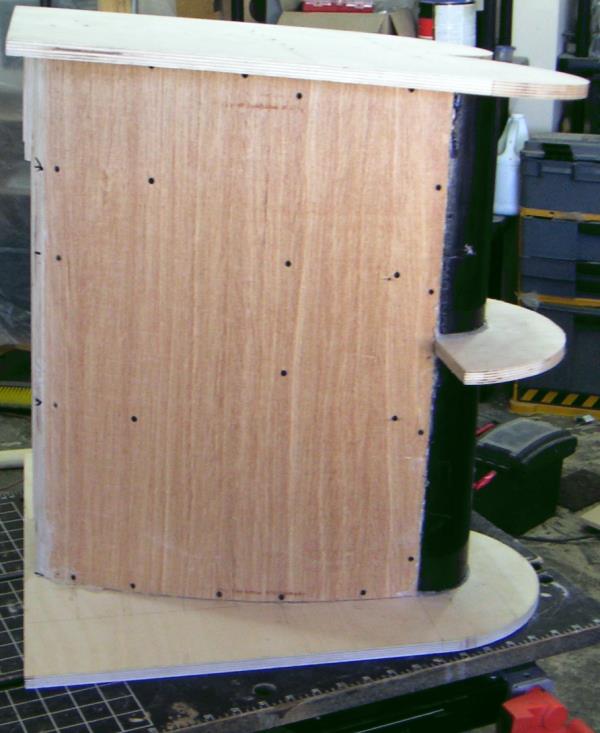
Here's the side of the big horn covered with the 3/8" luan plywood. The plans call for 1/4" A/C grade. This stuff was pricey, but it made the job very easy to do. I mail ordered two 2x2 sheets for about $20. The 1/8" was only $16 for a 4 X 8 and was obtained locally. If I did it again, I'd use two layers of the 1/8".

The design calls for splitting 4" PVC pipe to make these round ends. I had the ABS on hand. What a stinky mess to cut (er... melt) this stuff. Even with a jig for the table saw, and a cheap abrasive blade, this was the scariest part of the build. Hot melt fixes a lot of problems. The speaker is sitting on its top. You can see the power wires passed thru the top of the horn flare. We included a 3rd wire so we could switch off the tweets.
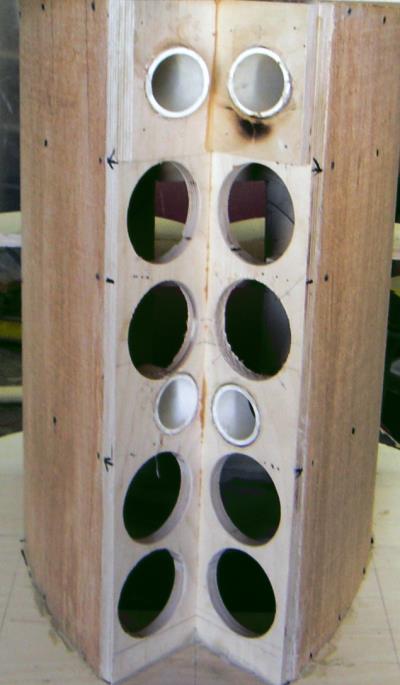
The plans call for the sides (luan in ours) to overlap the tweeter baffle. With the extra thickness, and the space needed for tweeter holes, we did ours butted up to the tweeter baffle. It made things a bit harder to seal, but we got it done.