DR250 Back On
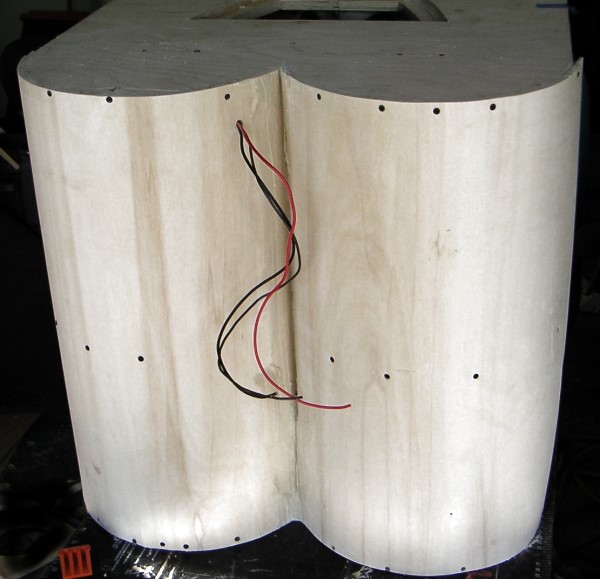
We managed to get the back bent around. We had a really tough time keeping two layers of the 1/8 ply jammed into the crotch area. We tried a variety of clamping methods, none of which proved completely effective. After we were done, it occured to me that I should have used my pop rivet gun to attach the inner two layers together--before trying to glue up. I diluted some white elmers glue with about 25% water and we painted the two layers together with that mix.
To keep everything straight and together, I found that screwing into the center brace, before going to the edges, made it easier to keep the two plys together. With 100+ degree heat and 10% humidity, I should have "pre formed' the poplar plywood by bending the pieces around a bigger circle overnight. Anyway, we got it done.
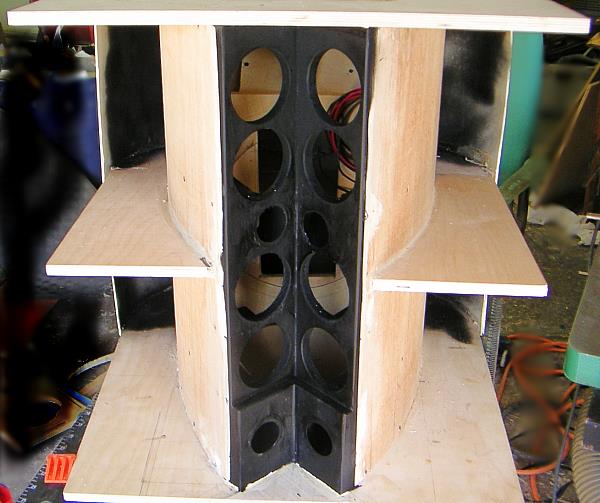
Adam thought the tweeter baffle would look better in black. I found a spray version of that thick gunk you use to dip tool handles. It works and looks a lot like truck bed liner, but it sets up quicker. Small can was about $7. I'll use it again. I also spritzed the inside of the horn.
In this shot you can see the bow that comes out of the bending process. With all the slips and slides we had, I came up about 1/4" short on the opposite side. I layered in another strip of plywood. We cut a rabbet into the sides where the back was overlapped by the side panel. The outer ply came close enough to butt against the side panel. Better to cut those curves too long and trim them back. Construction adhesive does fill gaps!
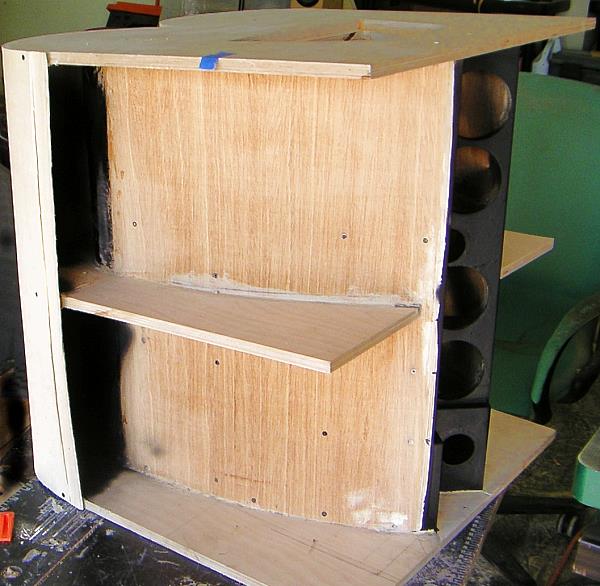
The horizontal side braces were a lot of trial and error sanding, I was able to get a couple of screws into them from inside of the cabinet. Again, if I did it again, I would use my biscuit joiner to align the brace to the "hull".